Create Programming Free Interaction with widget Gallery
Did you know the average person has an attention span of eight seconds before losing concentration? Think about a course that you recently created. How long was it, and how did you ensure that the learners stayed engaged till the end?
Many studies have shown that interactivity is a significant factor in learner engagement, satisfaction, and persistence (Tsang (2010), Croxton (2014)). A study published in the Journal of Educational Psychology revealed that interactive learning modules resulted in a 20% increase in long-term knowledge retention compared to passive learning methods. Learners are more likely to stay focused and retain information when they actively participate in the learning process.
So, it is imperative to add interactivities to your course, no matter how short it is, to ensure learner engagement. Widget Gallery is one of the key features in the all-new Adobe Captivate that makes this possible.
It has a variety of interactive elements that can transform your eLearning courses into impactful and engaging learning experiences. This innovative feature also allows you to craft advanced interactions without any programming knowledge. All you need to do is simply select a widget, customize its properties if you want, and add your content.
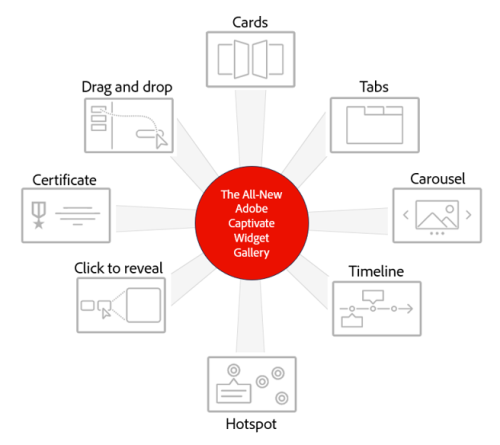
The Widget Gallery
Here are the widgets that are currently available in Adobe Captivate.
Cards: Get learners to click or tap a card to reveal information on its reverse side, mimicking the tactile experience of flipping cards.
Tabs: Use tabs to optimize screen space while presenting information compactly. It helps learners jump directly to the information they seek.
Carousel: Recreate the feeling of flipping through a book by presenting a series of images using this widget. The visual element makes the experience interesting and fun.
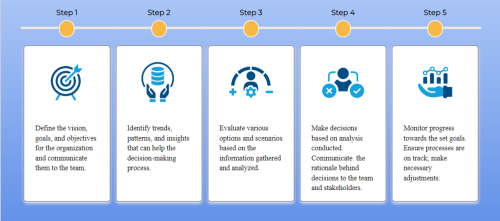
Timeline: Use this widget to narrate chronological or sequential events and information. It enables learners to explore historical events, project milestones, or process steps.
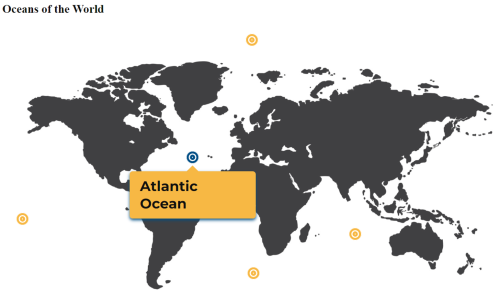
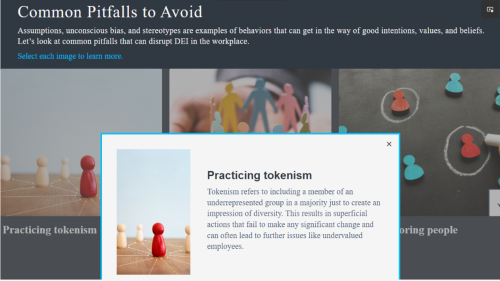
Hotspot: Encourage active exploration by strategically placing clickable areas over images or graphics. Use it to highlight details and provide contextual information when learners click on specific elements.
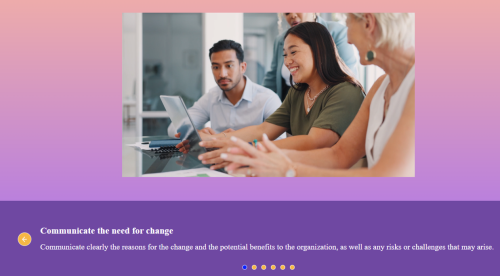
Click to reveal: Use this widget to provide a sense of discovery as the learner clicks to uncover information. Seamlessly insert images, text, and captions to create effective click-to-reveal activities
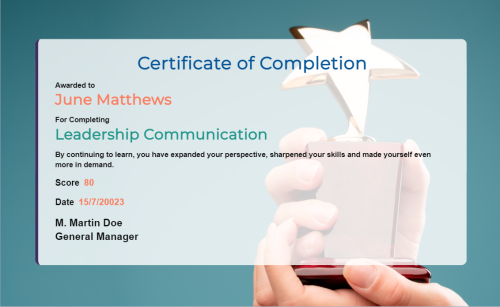
Certificate: Celebrate learners’ achievements by generating visually appealing certificates. Customize designs and define variables like name and course title to acknowledge successful completion.
Drag and drop: Make learning enjoyable by incorporating drag-and-drop games and quizzes. It helps establish relationships between drag items and drop targets to visually reinforce learning outcomes

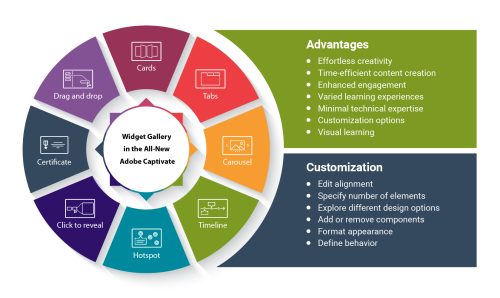
Advantages of Using Widgets
Here are some key benefits of using widgets:
The Widget Gallery provides a wide range of pre-designed widgets that enable you to incorporate visual and interactive elements into your course.
- Time-efficient content creation
Creating advanced interactions from scratch can be time-consuming. Widgets simplify the integration of interactive elements in the course, thereby enhancing productivity and accelerating course development.
Widgets add an element of engagement to your eLearning content. Learners are more likely to stay actively involved when they can interact with content. Widgets like drag-and-drop, hotspot, and flip cards create opportunities for hands-on learning experiences.
- Varied learning experiences
Different types of widgets cater to various learning preferences and styles. For instance, visual learners might benefit from image carousels, while tactile learners can benefit from drag-and-drop interactions.
- Minimal technical expertise
The widgets are designed to be user-friendly. You don’t need advanced technical knowledge to create complex interactions. Simply choose a widget and add your content.
Widgets like image carousels, hotspots, and timelines enable you to present content in innovative ways. Incorporating visual elements promotes better understanding and retention of complex information.
While the widgets come with default settings, you can still customize them to match your course’s branding and aesthetics. This ensures seamless integration into the overall design. Let’s look at customization in detail.
Visual Properties
You can edit and customize the widgets using the Visual Properties icon available in the Properties Inspector panel. It is a powerful tool that enables you to fine-tune your chosen widget by customizing its appearance, behavior, and content.
The example given below shows the slide-level visual properties of the Hotspot widget but they are similar for all the other interactive widgets.
Alignment and spacing: Define vertical and horizontal alignment settings.
Number of elements: While the nomenclature is different for each widget, you can specify the number of elements you want to add. This is not available for the Certificate widget.
Design options: Choose an alternate and distinctive design layout that is relevant to your content.
Components: You can choose the components you want displayed on the slide by checking the respective checkbox.
Appearance: Format the appearance of the background as well as individual cards.
Settings: Define settings that will decide what should happen when the widget loads or on completion of the interactivity. This is not available for the Certificate widget.
In addition to defining the visual properties at the slide level, you can also define component-level properties, such as transparency, appearance, and reporting.
Conclusion
Whether you’re a seasoned or novice instructional designer, the Widget Gallery provides a programming-free avenue to transform your content into dynamic and immersive learning. Here is a snapshot of the key factors of the Widget Gallery in the all-new Adobe Captivate